Complete Indoor Plant Care Guide for Beginners: Watering, Light & Soil Tips

Introduction
Indoor gardening is a rewarding hobby that improves air quality and mood, but beginners often struggle with three core issues: light, water and soil. This guide walks new plant parents through practical, easy-to-follow steps for assessing light in your home, building the right watering routine, and choosing or amending soil to keep roots healthy. You will learn how to match plants to conditions, how to tell when a plant needs water or is overwatered, and when and how to repot. It also covers simple ongoing care, humidity, feeding, pruning and pest prevention so you can develop a personalized routine. By the end, you should feel confident selecting low-maintenance species and keeping them thriving year-round. No special tools are required to get started.
How to assess light and choose plants
Light is the single most important environmental factor for indoor plants. Before buying anything, measure the light in each location at different times of day. Use a smartphone camera or a light meter app for a rough estimate and note areas that receive:
- Bright indirect light — sunny room but no direct midday sun on leaves.
- Direct light — window sill with several hours of sun; best for succulents and cacti.
- Low light — interior rooms or north-facing windows with little direct sun.
Match plant choice to the spot. Low-light tolerant species (for example, ZZ plant or pothos) survive in dimmer corners, while succulents and most flowering plants need several hours of direct, bright light. Remember that light changes seasonally: windows that are bright in summer may be much weaker in winter, so plan placement accordingly.
Watering: methods, schedules and troubleshooting
Watering is where most beginners either overdo it or underdo it. The key principles are:
- Check the soil. Use your finger, a wooden skewer or a moisture meter. For many houseplants, water when the top 1–2 inches are dry. For succulents, let the soil dry out deeper between waterings.
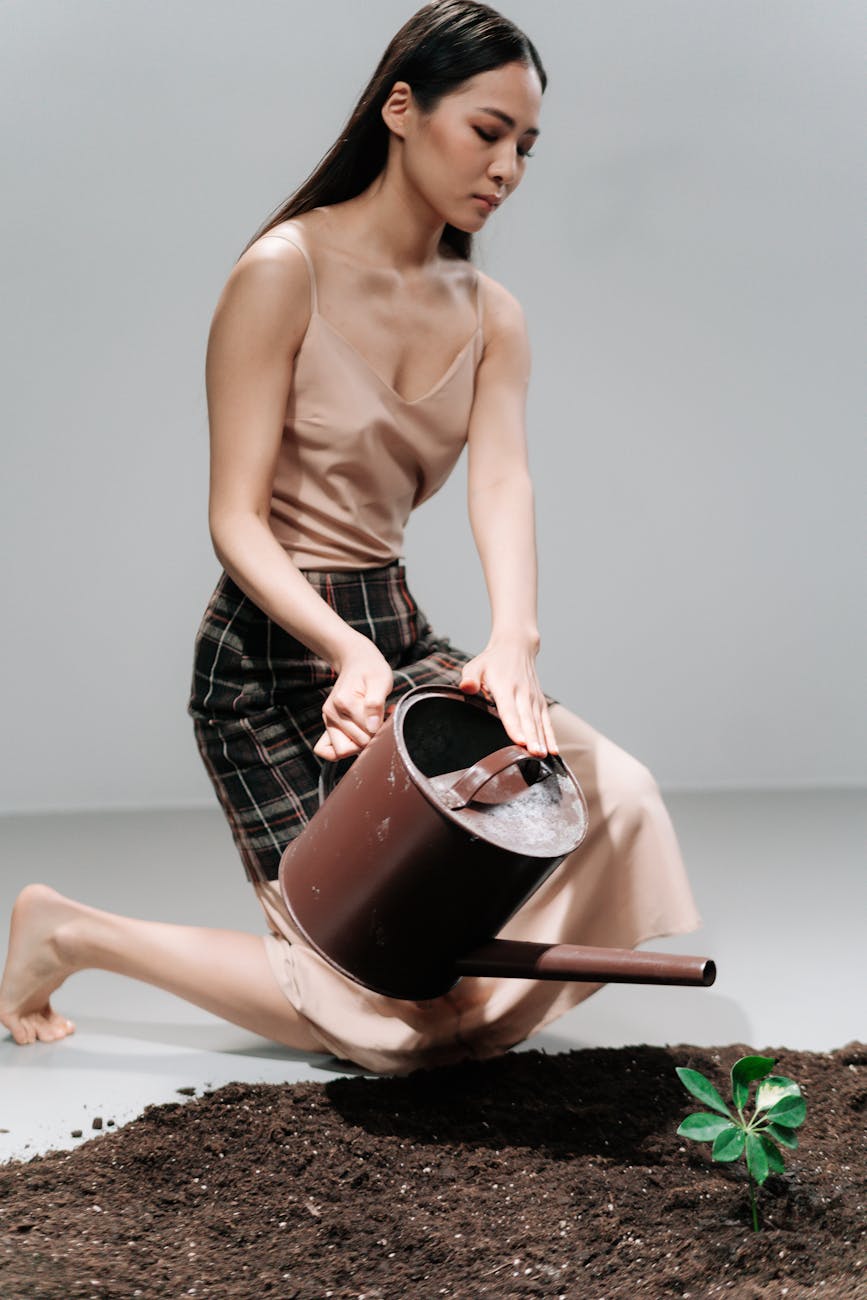
- Use the right method. Top watering is standard: water until it runs from the drainage hole, then discard excess. Bottom watering (placing the pot in a tray of water so roots wick up moisture) helps revive thirsty plants and avoids wetting leaves. Soaking trays for a few minutes is useful for drought-tolerant pots that are very dry.
- Adjust for season and pot. Plants use less water in winter. Smaller pots dry out faster than large ones. Porous pots (terracotta) dry quicker than plastic.
- Signs of problems:
- Overwatering: yellowing lower leaves, soft stems, foul smell (root rot).
- Underwatering: crispy brown edges, wilting that perks up after watering.
- Brown leaf tips: often low humidity or salt buildup from fertilizer.
Rather than a fixed schedule, base watering on plant needs and observation.
Soil, pots and repotting essentials
Healthy roots need three things: air, drainage and nutrients. Potting soil controls all three.
- Choose the right mix. A general-purpose indoor potting mix works for many tropicals. Use cactus/succulent mix for succulents and well-aerated mixes with bark for orchids. Amend heavy mixes with perlite or pumice to improve drainage.
- Pot selection. Pick a pot with drainage holes. If you love decorative cachepots without drainage, keep the plant in a plastic nursery pot inside and remove it to water. Terracotta pots wick moisture away and are good for plants that prefer drier conditions.
- When to repot. Repot every 12–24 months for fast growers or when you see roots through drainage holes, slow drainage, or soil that no longer holds moisture evenly. Choose a pot one size larger, gently loosen circling roots, and freshen the soil.
- Repotting steps:
- Water a day before repotting so roots are pliable.
- Remove plant, tease roots, prune any rotten roots.
- Add fresh mix, place plant at the same depth, firm lightly and water.
Ongoing care: humidity, feeding, pruning and pest management
Once plants are placed, total care is routine observation and small interventions that keep them thriving.
- Humidity. Many tropical houseplants prefer 40-60% humidity. Increase humidity with a humidifier, grouping plants, or a pebble tray. Misting gives a momentary boost but is not a reliable long-term solution.
- Feeding. Use a balanced liquid fertilizer (for example, 10-10-10 or 20-20-20) diluted to half strength every 2–4 weeks during the active growing season. Reduce or stop in winter. Slow-release granules are convenient for steady feeding.
- Pruning and cleaning. Remove dead foliage, trim leggy growth to encourage branching, and wipe dusty leaves to improve photosynthesis.
- Pests. Common indoor pests include spider mites, mealybugs and scale. Quarantine new plants. Treat infestations early with insecticidal soap, neem oil, or by dabbing alcohol on scale and mealybugs. Repeat treatments as needed and re-check neighboring plants.
Quick reference: beginner plant care table
| Plant | Light | Typical watering | Soil | Pet safe |
|---|---|---|---|---|
| Snake plant (Sansevieria) | Low to bright indirect | Every 2–6 weeks; let dry | Well-draining, cactus mix OK | No (mildly toxic) |
| Pothos (Epipremnum) | Low to bright indirect | Every 1–2 weeks; keep slightly moist | All-purpose potting mix | No |
| ZZ plant (Zamioculcas) | Low to bright indirect | Every 2–3 weeks; drought tolerant | Well-draining mix | No |
| Spider plant (Chlorophytum) | Bright indirect | Weekly; keep evenly moist | All-purpose potting soil | Yes |
| Peace lily (Spathiphyllum) | Low to bright indirect | Weekly; likes consistent moisture | Rich, well-draining mix | No |
| Succulents (Echeveria, Haworthia) | Bright direct to bright indirect | Every 2–4 weeks; allow to dry | Cactus/succulent mix | Varies by species |
Conclusion
Good indoor plant care begins with realistic plant selection and careful observation. Start by assessing light and matching plants to bright, moderate or low conditions, then choose a free-draining soil and a pot with drainage. Water based on the plant and season – check soil moisture with a finger, chopstick or moisture meter and adjust rather than following a fixed schedule. Maintain humidity, use a balanced fertilizer during the growing season, prune when needed and inspect plants regularly for pests. Small adjustments to light, soil or watering often fix most problems. With patience and simple routines, even beginners can keep attractive, healthy plants. Start with one or two species to build confidence and learn from each plant’s signals.
Image by: Ron Lach
https://www.pexels.com/@ron-lach


